Are you tired of leaky, worn-out shed roofs? They fail at the first sign of bad weather. Many DIY enthusiasts struggle with roofing that doesn’t protect their valuable storage spaces.
Traditional roofing materials deteriorate quickly. This leaves your shed vulnerable to water damage and structural issues.
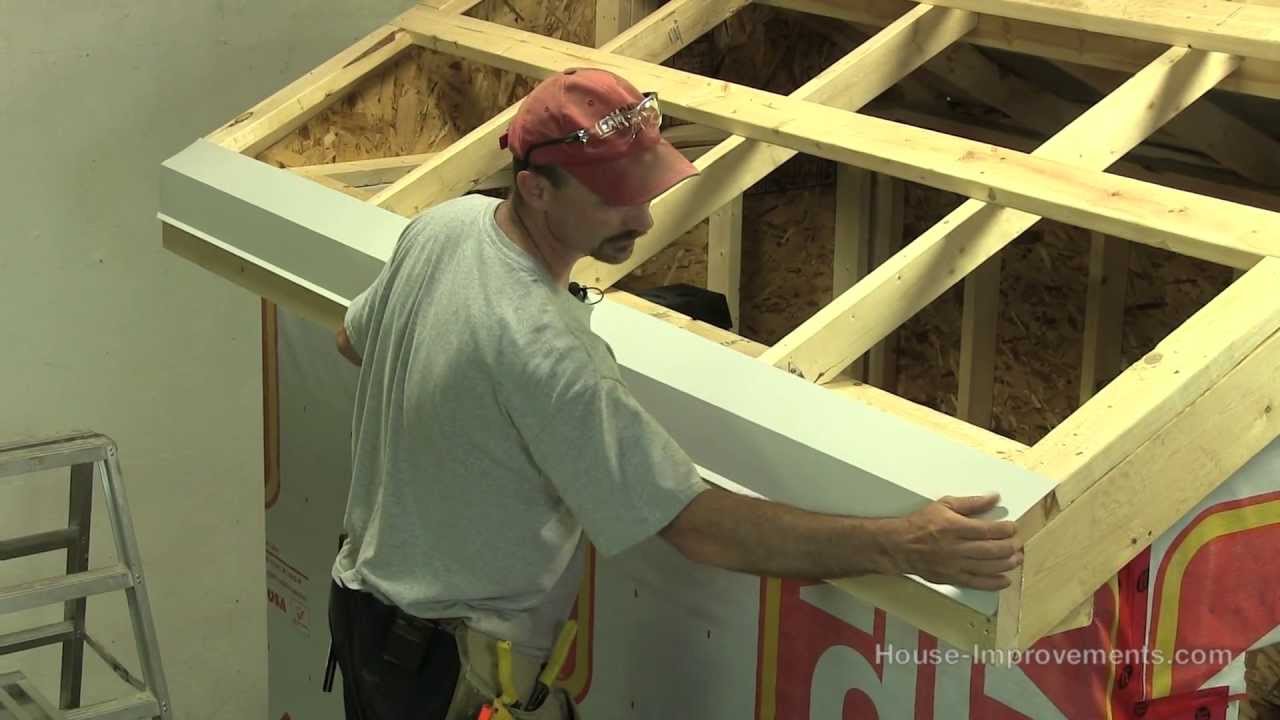
Installing metal roofing on a shed can be a game-changer. This guide will show you how to install metal roofing on a shed. It provides a durable, long-lasting solution that protects your investments.
I’ll break down the metal roofing shed installation process into simple steps. Even novice DIYers can follow these steps.
Get ready to transform your shed with a professional-grade metal roof. It will stand up to the toughest weather conditions!
Read also: How To Build a Shed Roof
Understanding Metal Roofing Benefits for Your Shed
Metal roofing is a top choice for protecting your shed. It turns ordinary sheds into strong, lasting storage spaces. I’ve seen how metal roofs make sheds more durable.
Durability and Weather Resistance
Metal roofing is known for its strength and weather protection. It can handle extreme weather, from sun to snow. Key features include:
- Resists winds over 100 mph
- Little damage from hailstorms
- Doesn’t catch fire
Cost-Effectiveness and Longevity
Though it costs more upfront, metal roofing saves money over time. It lasts a long time, with impressive stats:
| Roofing Material | Average Lifespan |
|---|---|
| Metal Roofing | 40-70 years |
| Asphalt Shingles | 10-40 years |
Environmental Benefits
Metal roofing is good for the planet. It’s made from 25% recycled content and can be recycled again. It also keeps your shed cool in summer by reflecting sunlight.
Choosing a metal roof shed means you’re picking a durable, cost-effective, and eco-friendly option. It will protect your stuff for many years.
Read also: Step-by-step on How to Insulate a Shed Roof
Essential Tools and Materials Checklist
Starting a DIY roofing project needs careful planning and the right tools. I’ll show you the key equipment for installing a metal roof on your shed.
First, gather these important tools:
- Cordless adjustable-torque handheld drill
- Metal cutting snips
- Caulking gun
- Sturdy extension ladder
- Tape measure
- Safety harness
- Chalk line
- Protective work gloves
Safety is the most important thing when working on your roof. Make sure to buy good safety gear, like a fall protection kit and strong boots. Spending $345 to $925 on safety is worth it to keep you safe.
You’ll also need metal roofing panels, fasteners, sealant, and underlayment. Metal roofing is sold by the square (100 square feet). Make sure to measure your shed right. A tip: Buy 10% more materials for waste and mistakes.
DIY roofing takes time and care. It usually takes 5-7 days for DIY folks. So, plan well and don’t hurry.
Proper Measurement and Material Calculation
Getting the right measurements for your metal roofing project is key. I’ll show you how to accurately calculate your shed’s roofing needs.
Calculating Square Footage
To figure out how many metal roofing panels you need, start by measuring your shed’s roof. Here’s a simple way to do it:
- Measure the length and width of each roof section
- Multiply length by width to get square footage
- For complex roofs, measure each section separately
Determining Panel Requirements
To find out how many panels you’ll need, follow these steps:
- Divide the total roof length by the panel length
- Add 2-3 inches for overlap between panels
- For symmetrical roofs, calculate one half and multiply by two
Accounting for Overlap and Waste
Roofers always suggest getting extra materials. Add 10% to your total to cover waste and unexpected needs. This helps avoid delays during installation.
Remember, most panels are 26 or 36 inches wide. Measure carefully to avoid cuts and waste.
Pro tip: Always double-check your measurements and follow manufacturer guidelines. A bit of extra prep can save you time and money.
Preparing Your Shed for Metal Roof Installation
Preparing your shed for a metal roof is a big step. I’ll guide you through the key steps for a successful project. The right prep work can make your roof last longer and work better.
Start by removing the old roof. This means taking off any old shingles or metal panels. Look closely at the roof decking for damage or weak spots. Fixing these now can save you trouble later.
- Check roof decking for soft spots or water damage
- Replace any compromised wooden sections
- Ensure the surface is clean and smooth
- Remove all old fasteners and debris
Roof underlayment is very important for your metal roof. Use a top-notch synthetic underlayment for the best water resistance. This layer stops water from getting in, helping your roof last longer.
Think about your local weather when getting ready. If it rains a lot or snows, you might need extra waterproofing. The right prep can make your roof last 50-70 years, which is a great investment.
- Measure the roof area accurately
- Purchase 10% extra materials for cutting and waste
- Ensure proper ventilation
- Check local building codes for specific requirements
By preparing your shed well, you’ll get a strong and lasting metal roof. This roof will protect your storage space for many years.
Read also: Concrete Roof Tiles Pros and Cons
How to Install Metal Roofing on a Shed
Installing metal roofing on a shed needs careful planning and precise steps. I’ll guide you through the key steps for a professional and durable roof. It might seem hard, but with the right steps, you can do it well.
First, know that metal roofing needs advanced skills. The whole job takes 1-2 days and needs focus. Make sure you have all tools and materials ready to work efficiently.
Starting at the Eave Line
Start at the roof’s bottom corner when installing metal roofing. This method ensures everything is aligned and covered right. Here are the main steps:
- Measure the eave line precisely
- Ensure a clean, level starting point
- Check for any existing roof damage
- Prepare the underlayment with at least six inches of overlap
Panel Alignment Techniques
Aligning panels correctly is key for a watertight roof. Use these methods:
- Use chalk lines to guide panel placement
- Ensure one to two inches of panel overlap
- Check horizontal and vertical alignment constantly
- Use spacers for consistent gaps
Securing Methods
Securing metal roofing panels needs precision. Experts say to use screws 12 to 24 inches apart. Stainless steel or coated screws are best for fighting rust and weather damage.
Remember, a well-installed metal roof can last 50-70 years and boost your property’s value by 6-7%. Take your time, follow each step carefully, and you’ll create a durable, attractive shed roof.
Installing Metal Panels and Fasteners

Installing metal roofing panels requires precision for a durable, watertight roof. I’ll guide you through the essential steps to secure your roofing materials.
Choosing the right fasteners is vital. I suggest using screws that resist corrosion, made for metal roofing. These fasteners protect against rust and water leaks.
- Choose fasteners with rubber washers for optimal sealing
- Install screws perpendicular to the roof plane
- Avoid overtightening to prevent washer compression
The installation process needs careful attention. Follow these guidelines for securing metal roofing panels:
- Place fasteners through the panel’s raised ribs
- Maintain consistent spacing as per manufacturer recommendations
- Apply butyl mastic tape at panel overlaps to prevent water siphoning
Wind resistance is key for metal roofing panels. In windy areas, adjust fastener spacing for better stability. This makes your roof last up to 50 years.
Pro tip: Always check manufacturer guidelines for specific installation sequences and tightening specifications. Proper installation ensures water resistance and can reflect up to 70% of solar energy. This can lower cooling costs by 20%.
Proper Overlapping and Sealing Techniques
Metal roof installation needs precision, mainly for watertight seals. Getting the panel overlaps right is key to protect your shed from water damage. It also ensures the roof lasts long.
When installing metal roofing, follow these important overlap guidelines:
- Overlap panels by at least one full rib (typically 6 inches)
- Use silicone sealant on the inside lap for a waterproof seal
- Ensure consistent panel alignment to prevent water intrusion
Creating Watertight Seals
The success of a metal roof installation depends on leak-proof connections. I always suggest using high-quality neoprene washer head screws every 12-16 inches. This secures panels firmly and keeps water out.
Panel Overlap Guidelines
Proper panel overlap is vital for your shed’s moisture defense. Roofers recommend overlapping panels by at least one full rib, which is 2-3 inches. This ensures complete coverage. Apply a continuous bead of metal roofing sealant along these overlaps for extra protection against water.
- Space screws consistently for uniform protection
- Use foam closure strips along critical areas
- Check alignment with a chalk line for precision
Ridge Cap Installation and Flashing Details

Installing the ridge cap is the final step in making your metal roof watertight. I’ll show you how to do metal roof flashing right. This will keep your shed safe from water and look professional.
First, get your roofing materials ready. Ridge cap pieces are 10’6″ long, covering 10 feet with a 6-inch overlap. Mark every 15 feet along the ridge for longer roofs.
- Apply sealant tape 1 inch above the chalk line along the full ridge length
- Use metal-to-metal fasteners with silicone sealant
- Fasten ridge caps through the center of every other major roof panel rib
- Trim the final section to fit the specific ridge length if needed
For the best protection, remember these flashing tips. Vented closure strips are 50 feet long and 3 inches wide. Solid closure strips are 3 feet long and fit over roof panel ribs. When overlapping, apply silicone sealant 2 inches from the inside overlap for a tight seal.
Pro tip: Don’t forget about corners and edges. Proper metal roof flashing here stops water from getting in. This keeps your shed dry and safe. Remember, careful installation can make your roof last longer and protect your investment for years.
Ventilation and Moisture Control Solutions
Keeping your metal roof shed dry is key. Without good airflow, moisture can harm your roof. I’ll share how to stop condensation and keep your roof safe.
For metal roof ventilation, you need a smart plan. Battens on top of underlayment make air gaps. These gaps let air move, stopping moisture and damage.
- Ridge vents provide top-level air exhaust
- Soffit vents enable cool air intake
- Continuous ventilation systems prevent heat and moisture traps
It’s smart to use a full ventilation system. This keeps moisture and temperature in check. The right system can make your roof last longer.
| Ventilation Method | Effectiveness | Cost Range |
|---|---|---|
| Ridge Vents | High | $50-$150 |
| Soffit Vents | Medium | $30-$100 |
| Continuous Ventilation | Very High | $200-$500 |
Think about your area’s weather when choosing ventilation. In wet places, you need stronger systems. Spray foam insulation adds extra protection, growing up to 30 times its size.
Good ventilation keeps your metal roof shed dry and strong. A well-ventilated roof can last 50 to 70 years. It’s a smart choice for the long run.
Finishing Touches and Quality Checks
Finishing your diy roofing project needs careful attention. After putting on your metal roof, these last steps will make it look professional and last long.
Final Inspection Checklist
I suggest a detailed quality check to make sure your metal roof is done right. Look at these important areas:
- Verify all panels are correctly aligned
- Check for proper fastener placement
- Inspect seam and edge sealing
- Confirm no gaps exist between panels
- Ensure ridge caps are securely installed

Maintenance Recommendations
Even though metal roofs are very durable, they need regular care to last long. Standing seam metal roofs can last over 50 years with the right maintenance. Here are my best maintenance tips:
- Clean roof surface annually
- Inspect for loose fasteners
- Check and replace sealants every 5-7 years
- Remove debris that might accumulate
- Look for signs of possible water infiltration
Your diy roofing project is now finished. By following these steps, you’ll keep your investment safe and enjoy a strong, lasting metal roof for many years.
Conclusion
I’ve shown you how to install metal roofing on a shed. Now, let’s look back at what we’ve learned. Installing metal roofing on a shed is more than a weekend project. It’s a long-term investment in protection and durability.
Installing a metal roof might seem tough, but the benefits are huge. It saves energy and needs little upkeep. Remember, being precise is key. Take your time, check your measurements, and ask for help if needed.
Once your metal roofing is done, you’ll see many benefits. You’ll save on energy, withstand harsh weather, and have a modern look. Regular checks and cleanings will keep your roof in top shape. Enjoy the pride of having a durable, efficient storage solution for years.
Installing a metal roof is doable, whether you’re experienced or new to DIY. Your new roof will protect your stuff and show off your skills and dedication to home care.


