Installing a commercial roof like EPDM can significantly reduce your roofing system costs. However, if it was built recently, your building may already have one of the most prevalent and affordable roofing materials.
There are certain disadvantages of EPDM roofing you’ll have to make if you choose an EPDM roof today, but you might save a ton of money upfront. Once you know them, you can determine whether EPDM is the best material for your roofing requirements or whether you need to utilize another one.
What Is An EPDM Roof?
EPDM is a thin synthetic rubber that is vulnerable to tears from workers repairing equipment on a roofing system walking on it. EPDM rubber roofing mats can be placed where there would likely be foot activity.
Rubber mats can be placed where there would likely be foot activity. They are, however, hardly used to prevent unnecessary wear and strain. In addition, small repairs that are required might turn into structural leaks when the EPDM is weakened.
Read also: EPDM Roofing VS TPO Roofing
EPDM Roofing Installation
Step 1: Assemble Your Tools and Supplies
Gathering all the equipment and supplies required for your job should be your priority. It covers everything on the previous list, but you should also read the installation instructions provided by any particular roofing manufacturer.
Step 2: Remove The Current Roofing
Although certain rubber roofs can technically be installed on top of already-existing layers, removing the old roofing is always preferable to installing the new roofing. So once you’ve gathered all your equipment and supplies, it’s time to remove the old roofing. Before continuing, remove any debris, including the old shingles or rubber layers, flashing, nails or fasteners, and vents, using a flat pry bar.
Step 3: Lock Down The Roofing Deck
The roof decking should then be as securely fastened as possible. The roof deck will support your new rubber roof, the last barrier against leaks. So before continuing, ensure the roof deck is free of decay, leaks, bumps, or fractures. If so, address those issues before putting in the new roof.
Step 4: Install The Insulation.
Install the additional insulating layer if your particular type of rubber roofing calls for it so you may put the rubber roofing on top later. Wear the required safety equipment, such as gloves and goggles, and be aware of any chemicals in the insulating layers.
Step 5: Put The Rubber Roofing Down.
You may start installing the rubber roofing now that the insulation has been installed. As discussed in this tutorial, various roof types require different installation techniques. For example, to make a tight seal throughout the whole surface area before locking it, spread out the sheets and draw them taught over any hills or dips.
Step 6: Adhere Sufficiently
Different rubber roofing kinds need other adhesion methods. Therefore, follow the manufacturer’s instructions, whether mechanically adhering, heat applying, cold applying, or nailing the material down.
Step 7: Seal The Seams
The seams of rubber roofs are where leaks are most likely to occur. To guarantee a watertight seal, lay your seam adhesive or seam tape on each seam. Then, review your work and scan it for any holes or cracks. If necessary, apply a second line of seam glue or tape to double-layer over any fractures.
Step 8: Final Inspection & Cleaning
Once you’ve cleaned the whole roof surface, make one more inspection, paying close attention to any seams, roofing components like vents and chimneys, and the roof’s edges. Before completing the job, check for gaps, lumps, peeling edges, and other issues that can be fixed quickly using tacks.
Always step lightly since some disadvantages might become loose or damaged by foot movement. Be careful when ascending and dismounting the roof, watch your step, and keep sharp items off the roof surface.
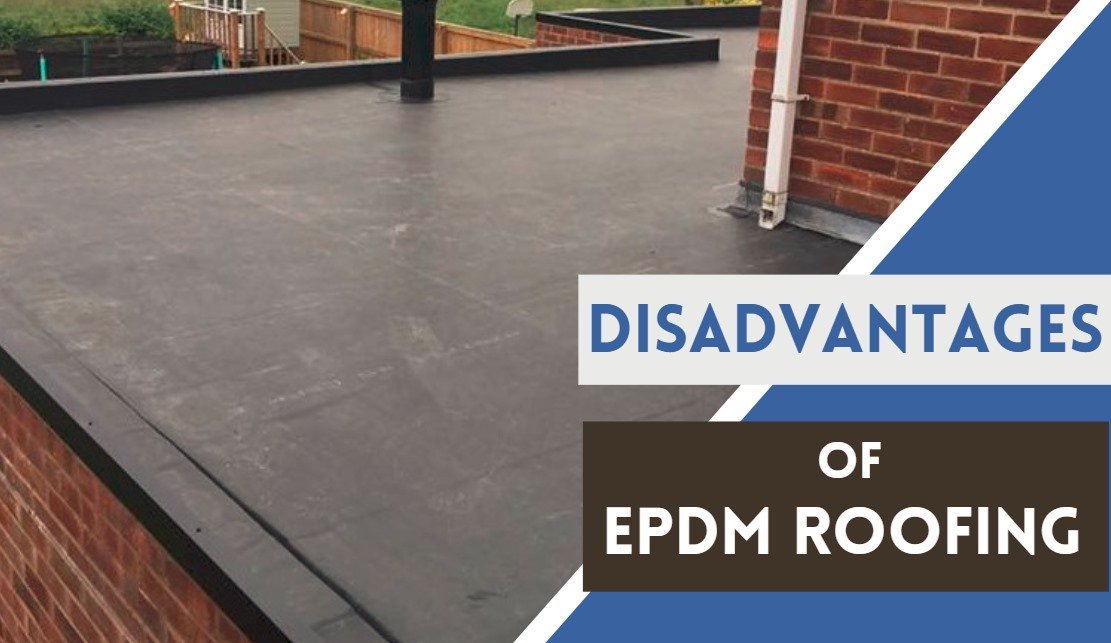
The Disadvantages
- Easy to Damage
In many situations, rubber roofing can offer sufficient protection, although it is more prone to damage than other types of roofing. Storm-related debris or someone wearing improper shoes walking on the roof might easily harm it. Repair expenses for EPDM roofs might gradually build up and reduce your savings.
- Unreliable Contractors
If there are any leaks, an EPDM roofing system that was improperly placed might potentially cause irreversible harm to your commercial building. Roofing contractors must ensure the roofing system is properly installed to avoid such issues.
- Shrinkage
A rubber roof may shrink with time and exposure to the environment, which may cause leaks. By using acrylic paint to cover your roof, you may assist in preventing this. If a roof is placed improperly, it can start to crack from shrinkage in as little as seven years.
- Protrusions
Pipes, vents, HVAC units, and other roof protrusions lead to inherent weaknesses in your roof’s structural stability. Around these places, it’s quite simple for your contractor to make a mistake, leaving your roof open to leaks. Unfortunately, unless you’re a professional, these are difficult to spot.
How Long Does Epdm Roof Last
EPDM roofs have disadvantages of EPDM roofing records worldwide for longevity, waterproofing, and “wearability” in domestic and commercial situations. Since EPDM was introduced in the early 1960s, it has steadily grown in popularity, experiencing a surge in the 1970s during the Middle-Eastern oil crisis when the price of tar-type roofing materials shot through the roof (pardon the pun).
Read also: How Long Does TPO Roof Last?
According to field testing and proven installations, the expected lifespan of EPDM roofs exceeds 50 years. This makes EPDM one of the best single-ply membranes on the market, far exceeding the expectations of other roofing options, such as felt, which can easily degrade during temperature fluctuations and tear.
The installation cost per square foot for EPDM rubber roofing is also competitive, making it a popular choice among building owners, especially for slope roofing.


