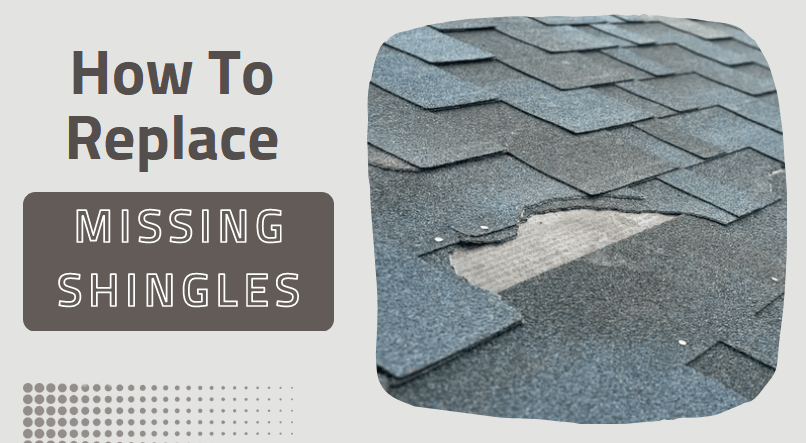
Missing shingles on a roof can cause concern for any homeowner. They affect your home’s aesthetic appeal and leave your roof vulnerable to damage from the elements. However, replacing missing shingles doesn’t have to be a daunting task.
With the right tools and know-how, you can easily fix this problem and prevent further damage to your roof. This guide provides a detailed, step-by-step approach to replacing missing shingles.
Not only that, but we’ll also cover the expenses associated with this repair, so you can have all the necessary information before making any decisions.
What to Do If Your Roof Missing Shingles?
Depending on the extent of the damage, you may be able to tackle the repairs yourself by following the steps in this article. The first step in fixing missing shingles is to assess the extent of the damage. If you notice a few missing shingles, it may be possible to replace them yourself.

If you’re looking for a temporary fix for missing shingles, use roofing cement or tar to cover the gap. This can help prevent leaks and further damage until you can replace the shingles properly. Remember that this is only temporary and should not be relied upon for long-term protection.
In my experience, applying a waterproof membrane or roof patch tape under the gap before using roofing cement can provide extra protection against leaks. This method secures the shingles and prevents moisture from penetrating the roof deck, extending the lifespan of the temporary fix.
Read also: What is a Roof Shingle Made Of
It’s important to replace missing shingles as soon as possible to avoid further damage and potential safety hazards. However, if the damage is extensive or affects a large area of your roof, it’s best to call in a professional roofing contractor.
How To Replace Missing Shingles?
Replacing missing shingles is not just about fixing an aesthetic issue; it’s about preventing water intrusion, mold growth, and structural damage. As a roofing professional, I’ve seen firsthand how timely replacement of even a single shingle can save thousands in future repairs. Let’s explore the steps you need to take to do this yourself.
Here’s a step-by-step guide to replace missing shingles:
- Start by removing the damaged shingle: Use a pry bar to lift the shingle tabs above the damaged shingle. Then, use a hammer to remove the nails holding the damaged shingle in place. When removing the damaged shingle, I found it helpful to slightly warm the shingles using a heat gun or hair dryer. This makes them more flexible and easier to lift without cracking, especially in cold weather.
- Remove any remaining roofing cement: Use a scraper to remove any remaining roofing cement from the area where the damaged shingle was located.
- Cut a new shingle to size: Measure the size of the gap left by the missing shingle and cut a new shingle to fit.
Read also: 3 Simple Methods on How to Cut Shingles
- Install the new shingle: Apply a small amount of roofing cement to the back of the new shingle and slide it into place. Secure it with nails and then apply roofing cement over the nail heads.
- Reattach the surrounding shingles: Use roofing cement to reattach the surrounding shingles and seal any gaps. Double-check for gaps to prevent future leaks.
Missing Shingles Repair Cost
Based on my past roofing projects, replacing shingles can range from $100 to $300 for minor repairs, depending on the type of shingles and labor involved. However, if the damage extends beyond a few shingles, the cost could increase significantly, especially if underlying structural damage is found.
Understanding the cost of shingle replacement is crucial for homeowners. In my experience, the cost factors include not just the price of the shingles but also the cost of tools, safety equipment, and potential additional repairs to the roof deck or underlayment. Budgeting an extra 10-20% over your initial estimate for unforeseen expenses is advisable.
Step-by-Step Replacement Summary
| Step | Description | Personal Experience/Tip |
|---|---|---|
| 1. Assess the Damage | Check the extent of missing shingles and any underlying issues | Use binoculars or a drone for a safe, thorough inspection. |
| 2. Remove Damaged Shingles | Use a pry bar to lift and remove shingles and nails | Warm shingles with a heat gun in cold weather to prevent cracking. |
| 3. Clean the Area | Scrape off any old roofing cement | Use a wire brush for thorough cleaning of small debris. |
| 4. Cut and Prepare New Shingles | Measure and cut new shingles to fit the gap | Use a utility knife with a hook blade for precise cutting. |
| 5. Install New Shingles | Apply roofing cement and secure with nails | Apply a waterproof membrane under the new shingle for extra protection. |
| 6. Reattach Surrounding Shingles | Secure surrounding shingles with roofing cement | Double-check for gaps to prevent future leaks. |
Final Statements
Replacing missing shingles is an important part of maintaining the integrity of your roof. If left unchecked, missing shingles can lead to leaks and water damage, which can be costly.
You can replace missing shingles yourself or call a professional roofing contractor. Having personally worked on roofs, I recommend wearing rubber-soled shoes for better grip and using a roof harness or fall protection gear, especially if your roof is steep or the weather conditions are slippery.
In summary, if you notice missing shingles on your roof, don’t ignore them. Take action as soon as possible to prevent further damage and maintain the longevity of your roof. With the right tools and knowledge, you can replace missing shingles quickly and affordably.


