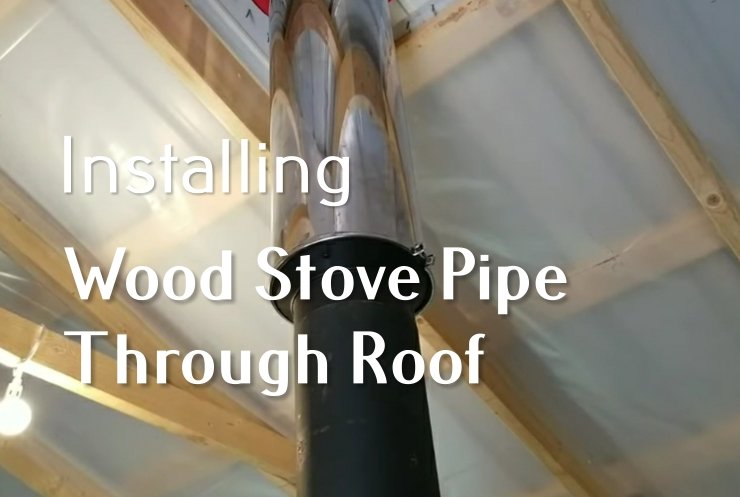
The wood-burning stove is suitable equipment to use during cold winter nights. Aside from providing cozy settings with the sound of a crackling fire, it is also able to save your wallet up to hundreds of dollars compared to other heating systems.
Here’s a comprehensive guide on safely installing a wood stove pipe through the roof, enriched with expert insights and personal experiences.
Understanding the Difference: Stovepipe vs. Chimney Pipe
Stovepipes connect the stove to the ceiling or wall, while chimney pipes extend from there through the roof.
Stovepipe Types:
- Single-Wall: Requires at least 18 inches of clearance from combustible materials.
- Double-Wall: Has stainless steel inner and black outer walls with insulation, needing only 6 inches of clearance.
Installing 8″ Wood Stove Pipe Through the Roof
Many people confuse and interchangeably use the terms ‘stovepipe’ and ‘chimney pipe’ even though both differ. A stovepipe is a pipe located inside the house that goes through the wall up to the ceiling. Meanwhile, the chimney is the pipe placed over it.
In short, the stovepipe connects the stove and the chimney. Therefore, the stove pipe and wood stove chimney installation processes are different.

Most black stove pipes are easily recognizable and should be complemented with appropriate roof flashing to ensure a watertight seal around the roof hole, because this color can resist extremely high temperatures. However, finding the lines designed in porcelain enamel shades to suit the stoves is also possible.
Stovepipes come in single wall and double-wall pipe types, the latter being more efficient in reducing the clearance needed from combustible materials and ensuring a tight fit at the top of the chimney.
Typically, single-wall stove pipes must be distanced a minimum of 18” from any flammable furniture, ceiling, or wall – except if the combustible surface is coated with a protective layer or if the stovepipes have an extra 9” heat shield.
On the other hand, double wall stove pipes have an inner wall with stainless steel material and a black-colored outer wall. There’s a space between two layers that serve as the insulator. This type of stove pipe can be kept as near as 6” to flammable surfaces.
Read also: How to Estimate the Cost of Painting Roof Shingles in Black and White
Steps for Installing Wood Stove Pipe Through the Roof
1. Preparation and Safety
Tools and Materials Needed:
- Grinding or cutting tools
- Tin shears
- Sheet metal screws
- Class A chimney pipe
- Storm collar
- Support box
- Roof flashing
Safety Measures:
- Comply with local building codes.
- Use protective gear such as gloves and safety glasses.
2. Trim and Seal the Stovepipe
- Trim the Pipe: Use tin shears or cutting tools to trim the pipe to the correct length. Adjustable slip joints can be used for heavier gauge pipes.
- Seal the Joints: Secure each joint with three sheet metal screws. Ensure that all connections are tight and rigid.
3. Install the Chimney Pipe
- Support Box Installation: Secure the support box to the joists in the attic to guide the chimney pipe through the ceiling.
- Assemble the Chimney Pipe: Connect the chimney pipe sections, ensuring proper alignment. Secure them with screws.
- Flashing and Sealing: Install flashing around the chimney where it exits the roof to prevent leaks. Use silicone or other sealants to ensure a watertight seal.
Expert Tips For Installation
From my experience installing wood stove chimneys, precise measurements and high-quality materials for flashing and sealing are crucial. Double-checking the alignment of the chimney sections and securing them tightly is essential for safe and efficient operation. Always perform a thorough safety check before the first use to identify potential issues.
Additional Tips
- Regular Maintenance: Regular inspections and maintenance by a professional roofer can help identify and fix potential problems early.
- Consistent Brand Use: Ensure all parts, including additional chimney pipe sections, are from the same brand to avoid compatibility issues.
Read also: The Peel and Stick Roofing Pros and Cons
Stove Pipe Through Roof Kit
The key to a successful stove pipe installation lies in thoroughly understanding the structure and components involved. Familiarize yourself with the specific requirements of your stove and chimney system to ensure a safe and efficient setup.
For this purpose, it is recommended to read the instruction manual of your newly-bought stove pipe thoroughly.
Different stoves and fireplaces will have additional requirements regarding the venting, which involve beyond the pipe types and the clearances and offset information to ensure a secure, safe, and appropriate process of installing wood stove pipe through the roof. Don’t hesitate to contact the appliance’s manufacturer if there’s a confusing or unclear part within the manual.


